The Conversion, Part 1: Infrastructure
I can’t tell you how many hours have gone into planning this conversion. Researching, reading about other conversions, sketching, deciding, reconsidering, researching more, deciding again… It is going to be our home for a whole year, so we want to make sure we’re maximizing everything: storage space, energy efficiency, comfort.
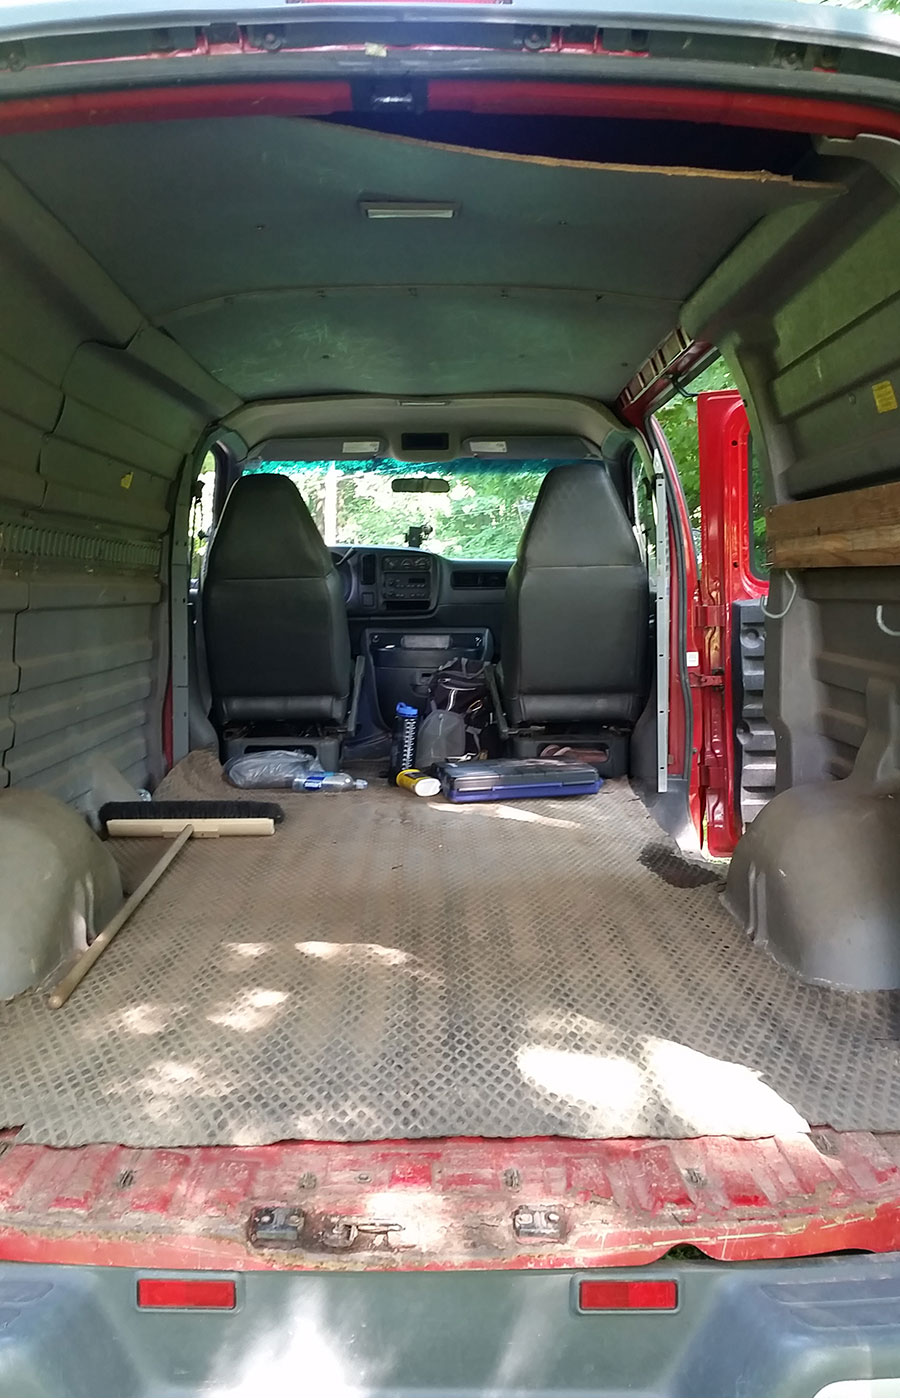
We started with a 2002 Chevy Express with about 70,000 miles on it. After months of searching on Craigslist for the right van, we found this one down in Pennsylvania, for sale by a landscaping company that wasn’t using it. Other than the heavy stench of urine (the previous owner said they had spilled a bottle of deer repellent), it was almost perfect. No rust, low mileage, sound engine, and cheap.
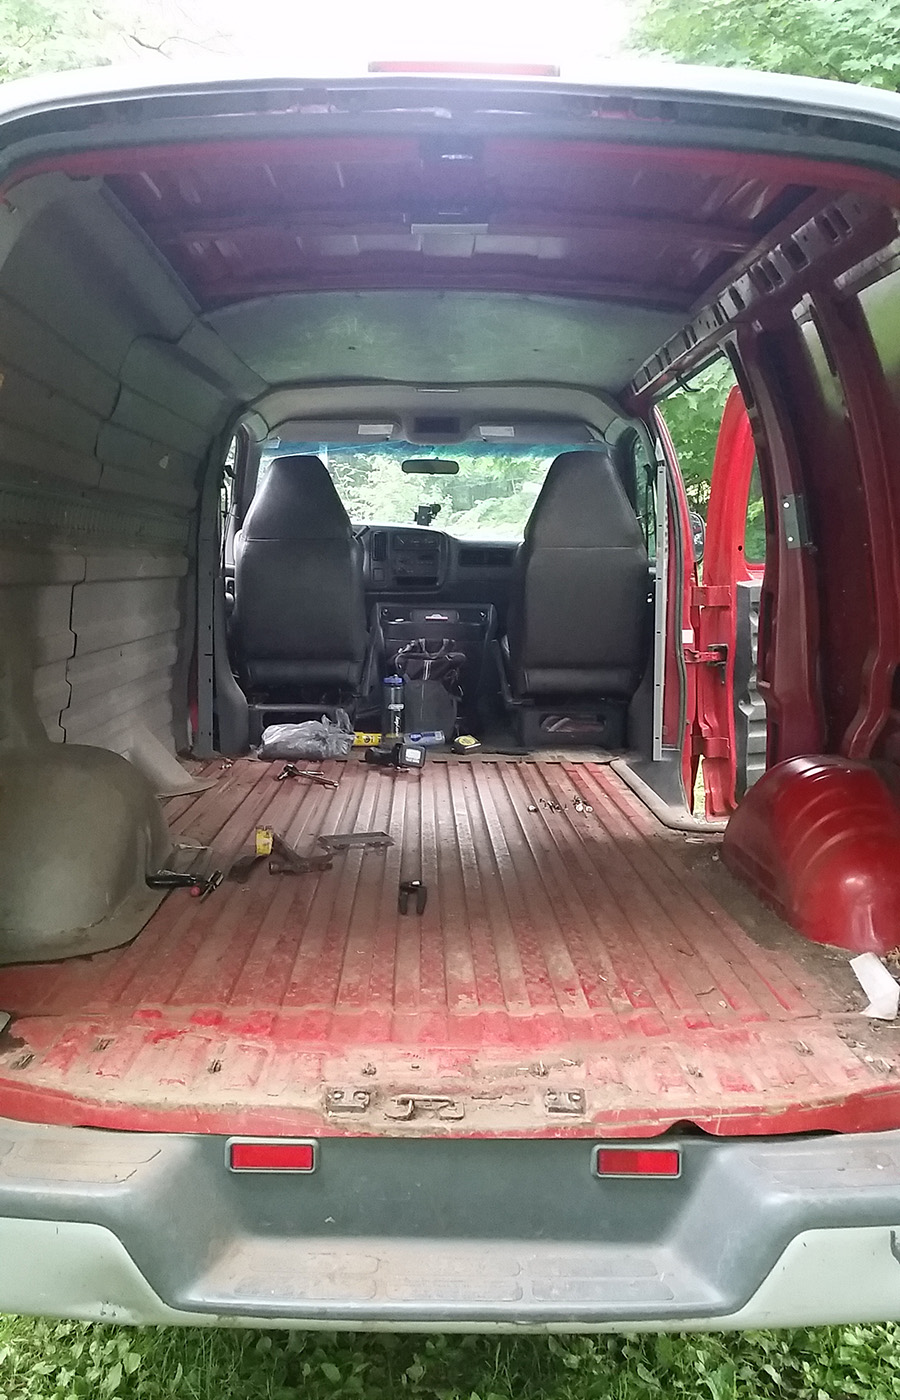
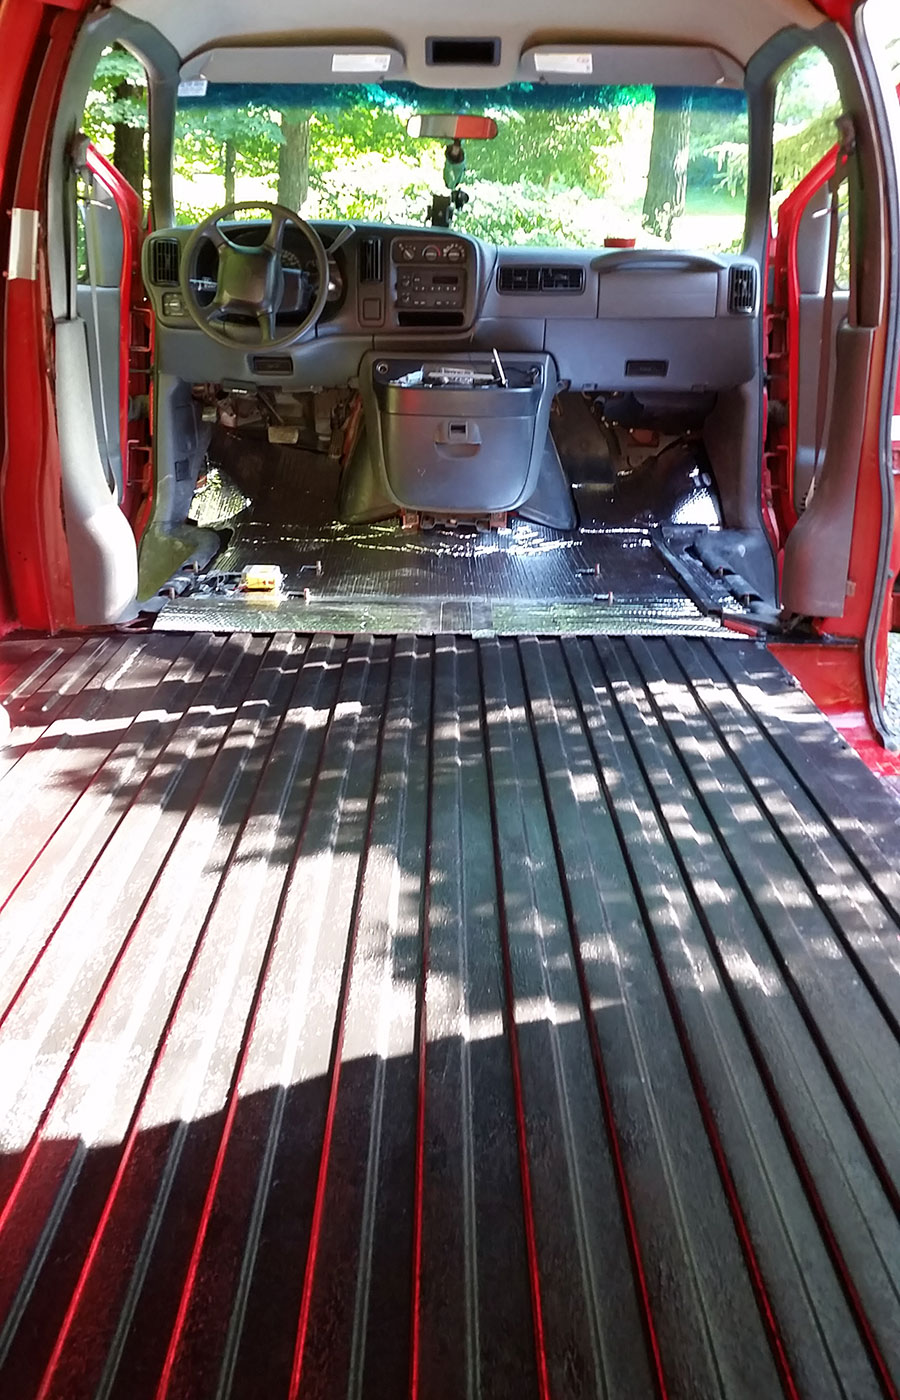
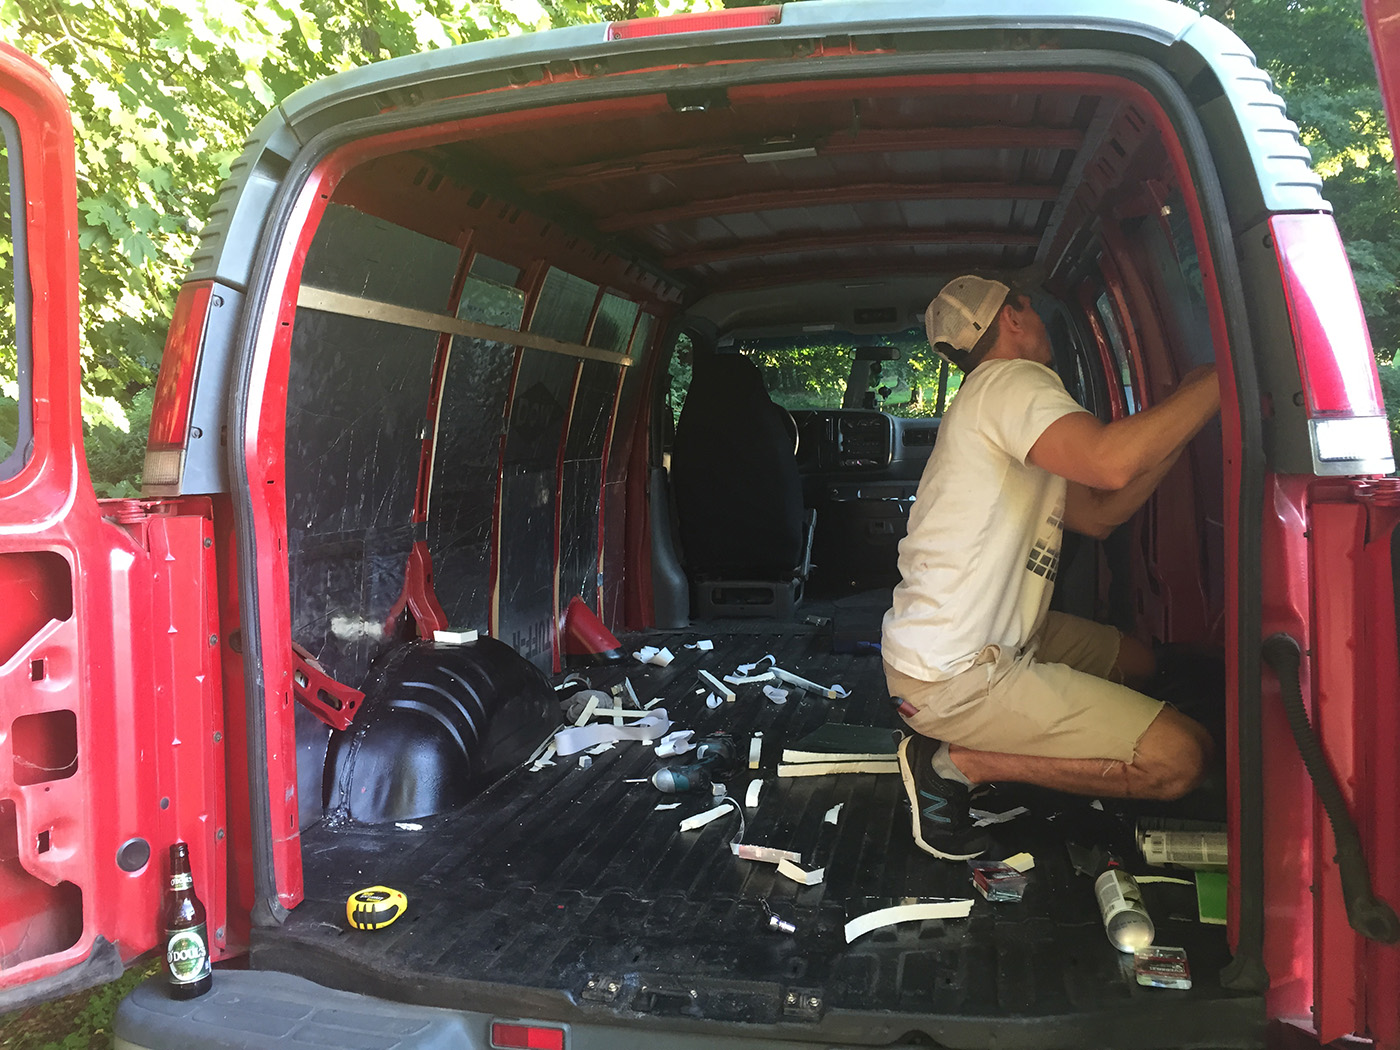
We brought it home and Mark couldn’t wait to jump right in. As soon as he started tearing the plastic covers off the walls he found the source of the smell: mouse nests everywhere. Fortunately for us, chewing through the windshield washer hose was the only real damage they did. Once we had it gutted, we hosed it out and scrubbed the whole thing down.
It was immediately apparent the downside to building in any van of this type: nothing is straight or parallel. The walls all curve from top to bottom and front to back; the ceiling is narrower than the floor; the braces on the frame aren’t uniform. There isn’t a single right angle in this van.
From the bottom up:
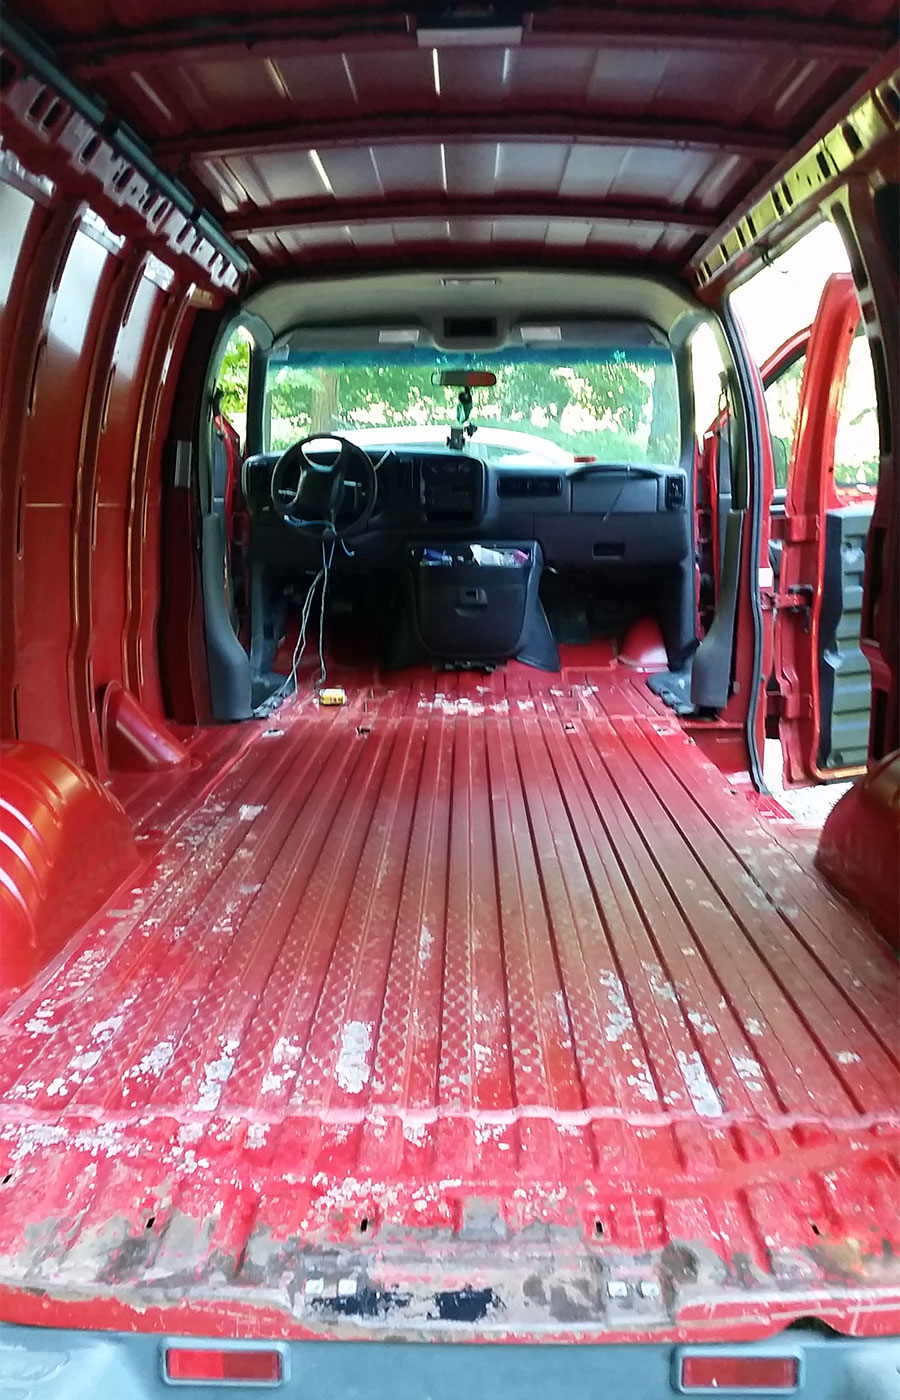
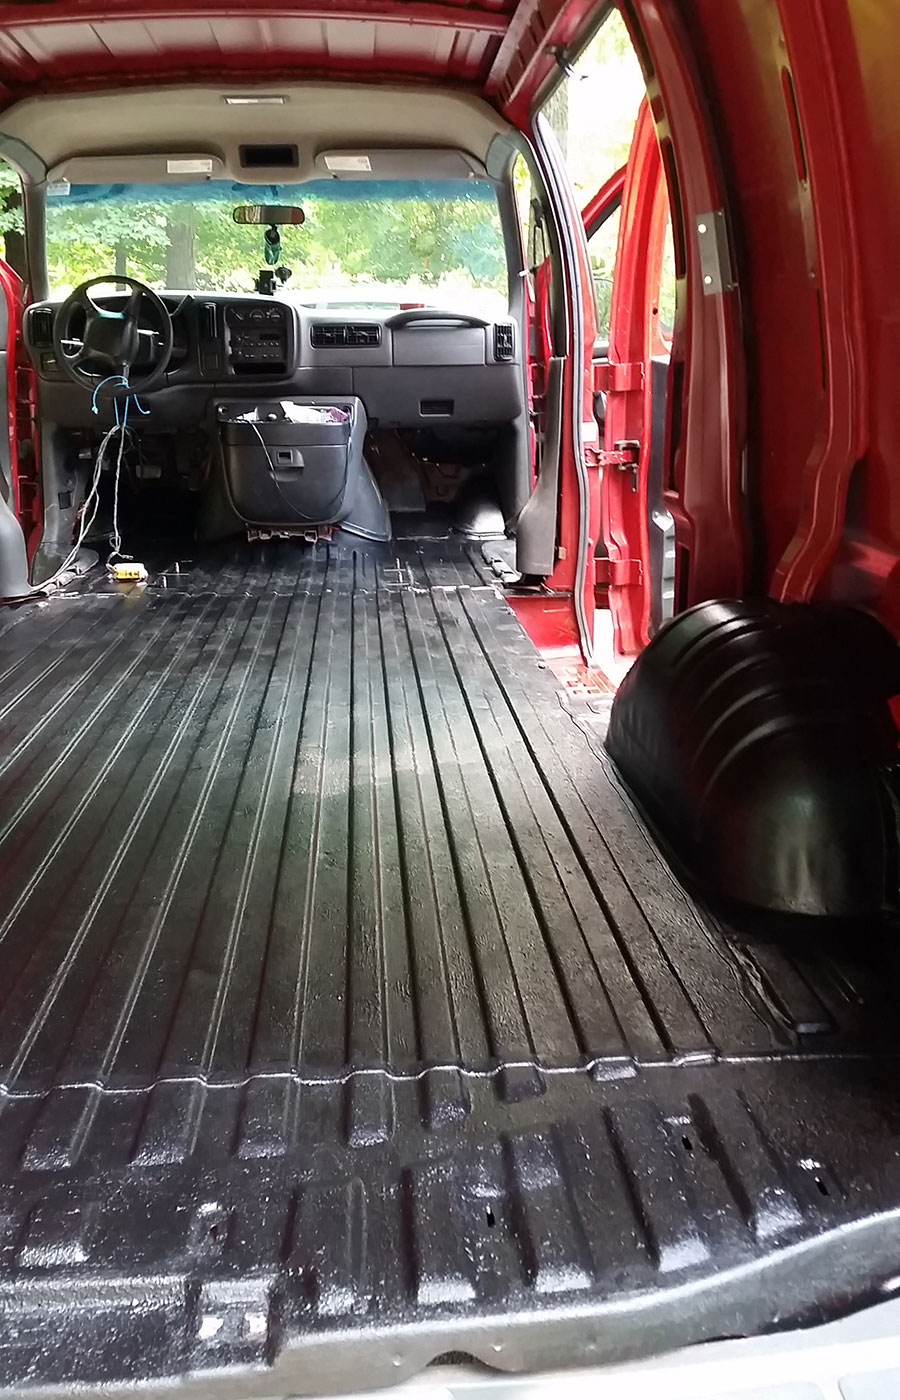
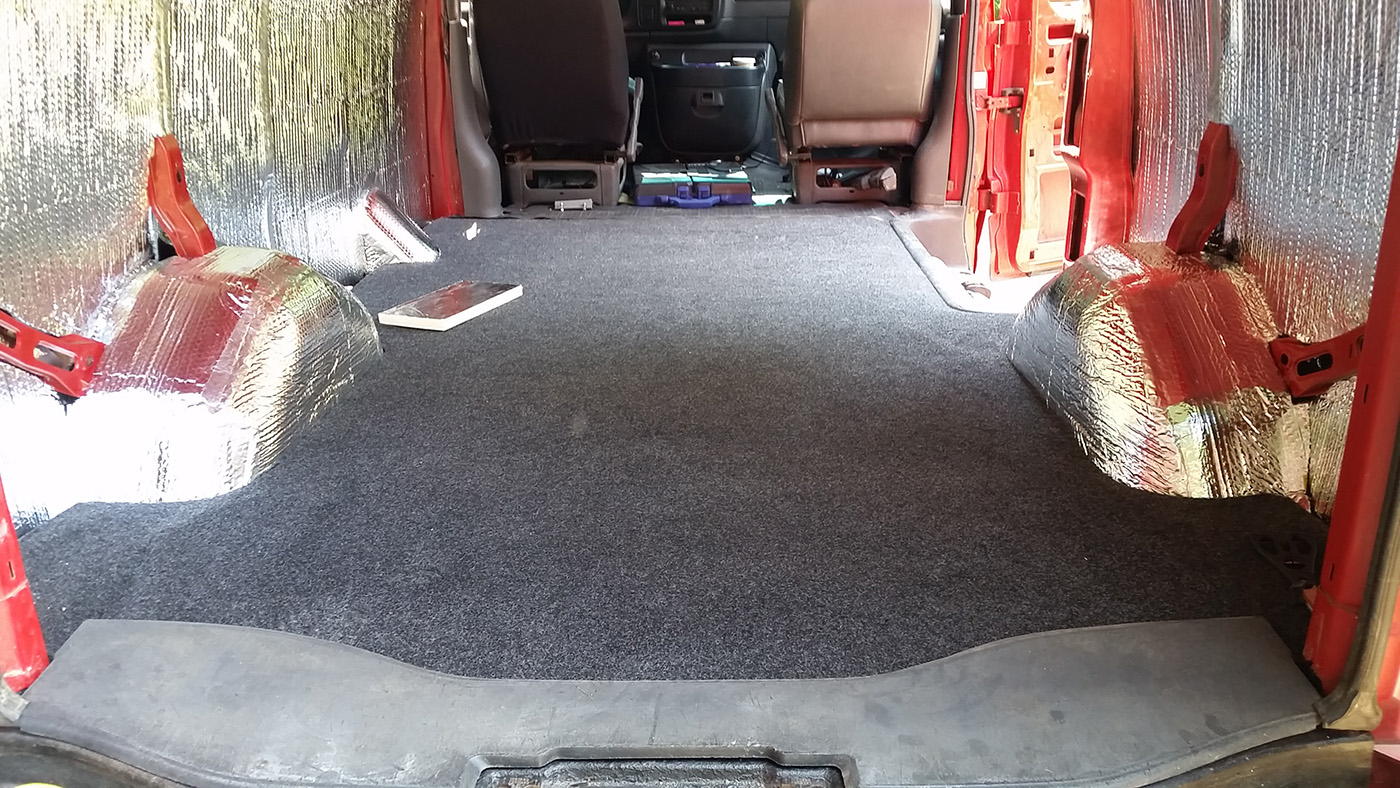
We took the easy route when it came to finishing the floor. Mark first painted the whole thing with a rubberized bedliner coating to prevent rust. Then, rather than spending hours cutting strips of insulation to fit into each groove in the floor (because, of course, that’s not flat), he found a Bedrug van mat pre-cut to fit the specific model of our van. Insulation, vapor barrier, and stain/water/bleach resistant carpeting all in one piece that takes less than five minutes to install? Yes, please.
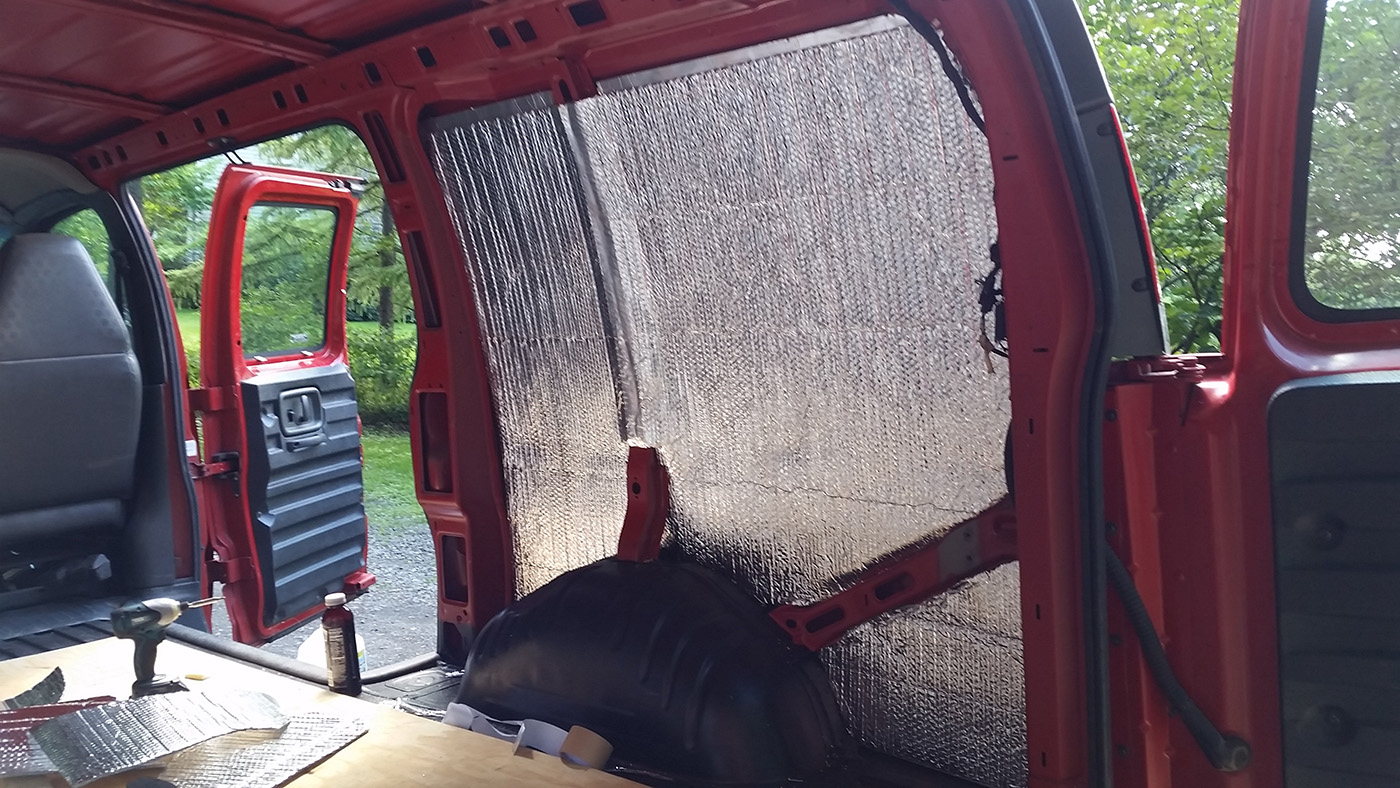
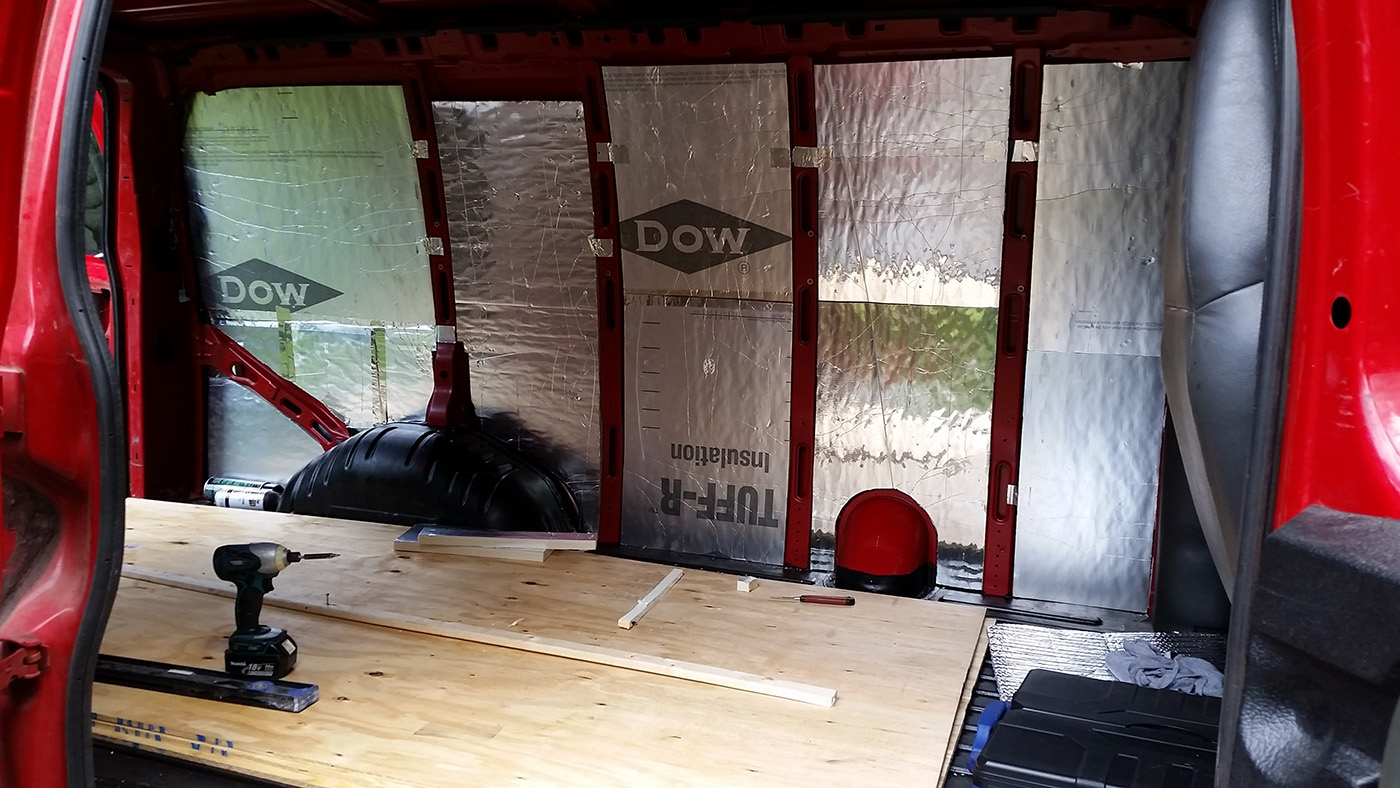
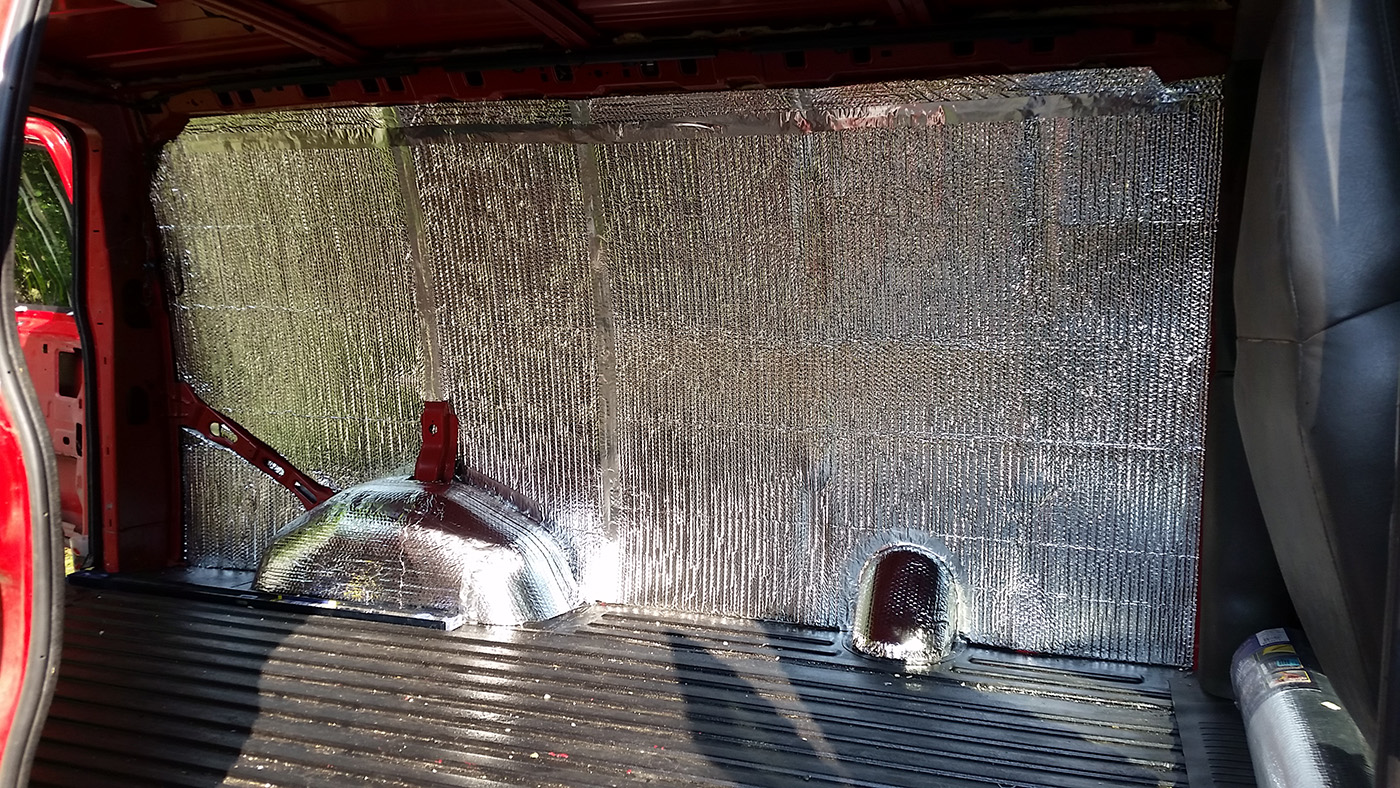
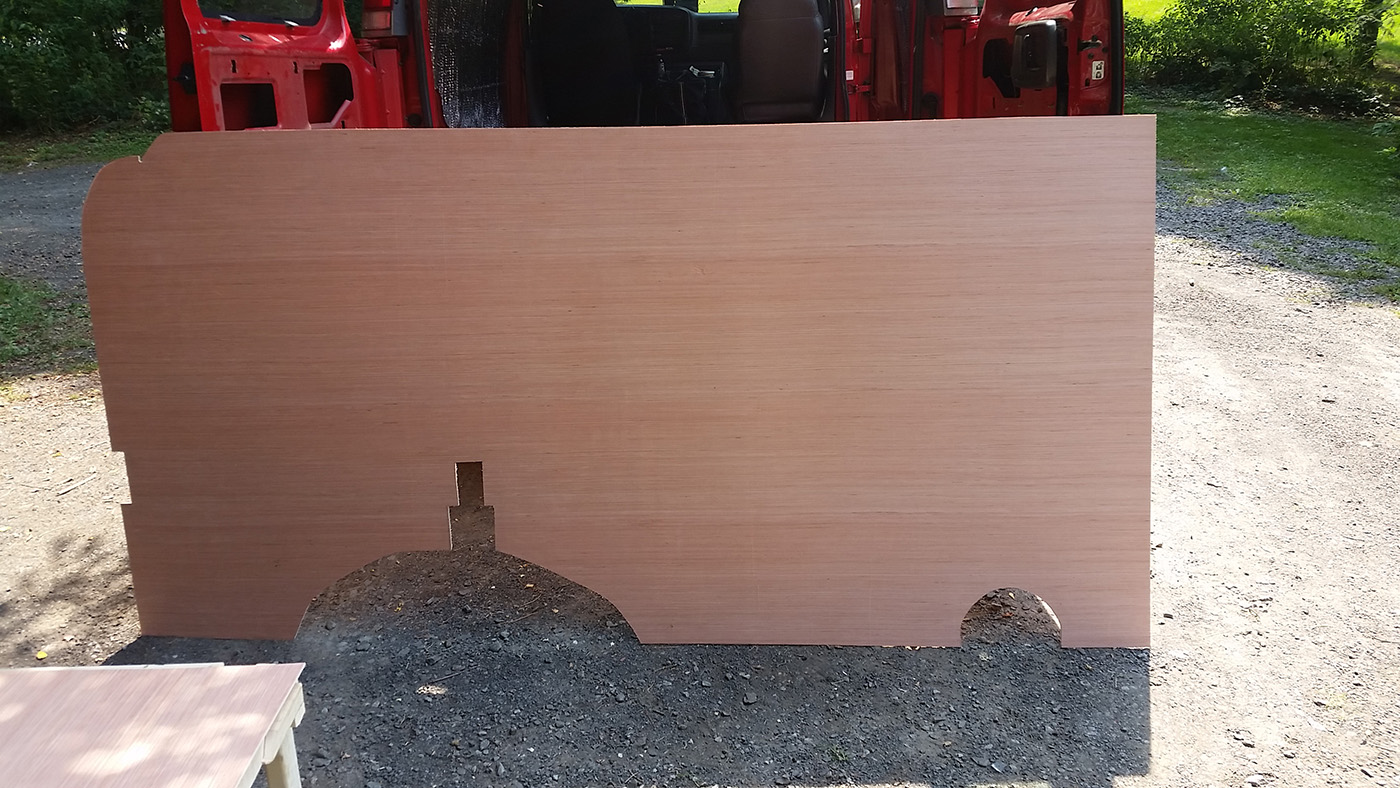
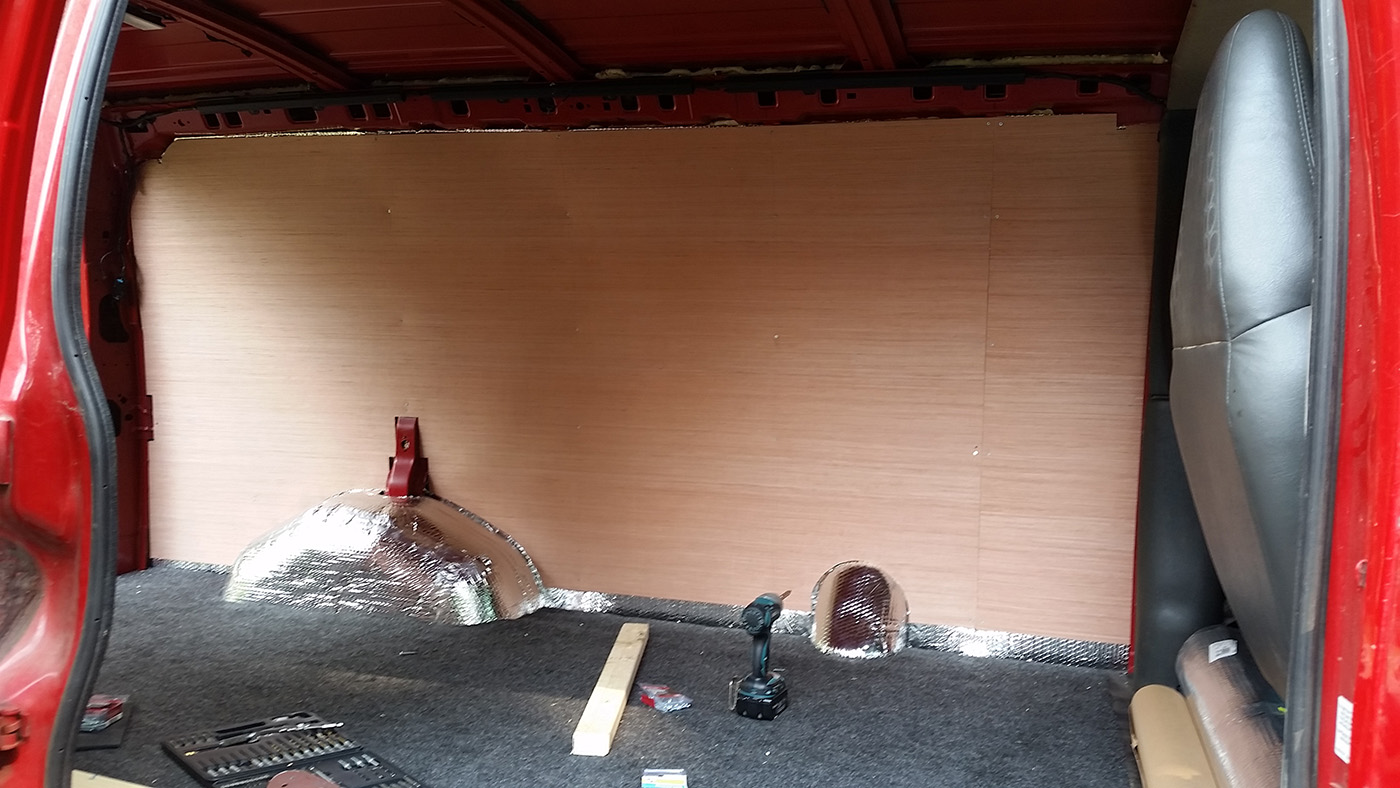
The wall and ceiling coverings consist of 1” thick foam board, a layer of reflectix, and finally the lauan plywood.

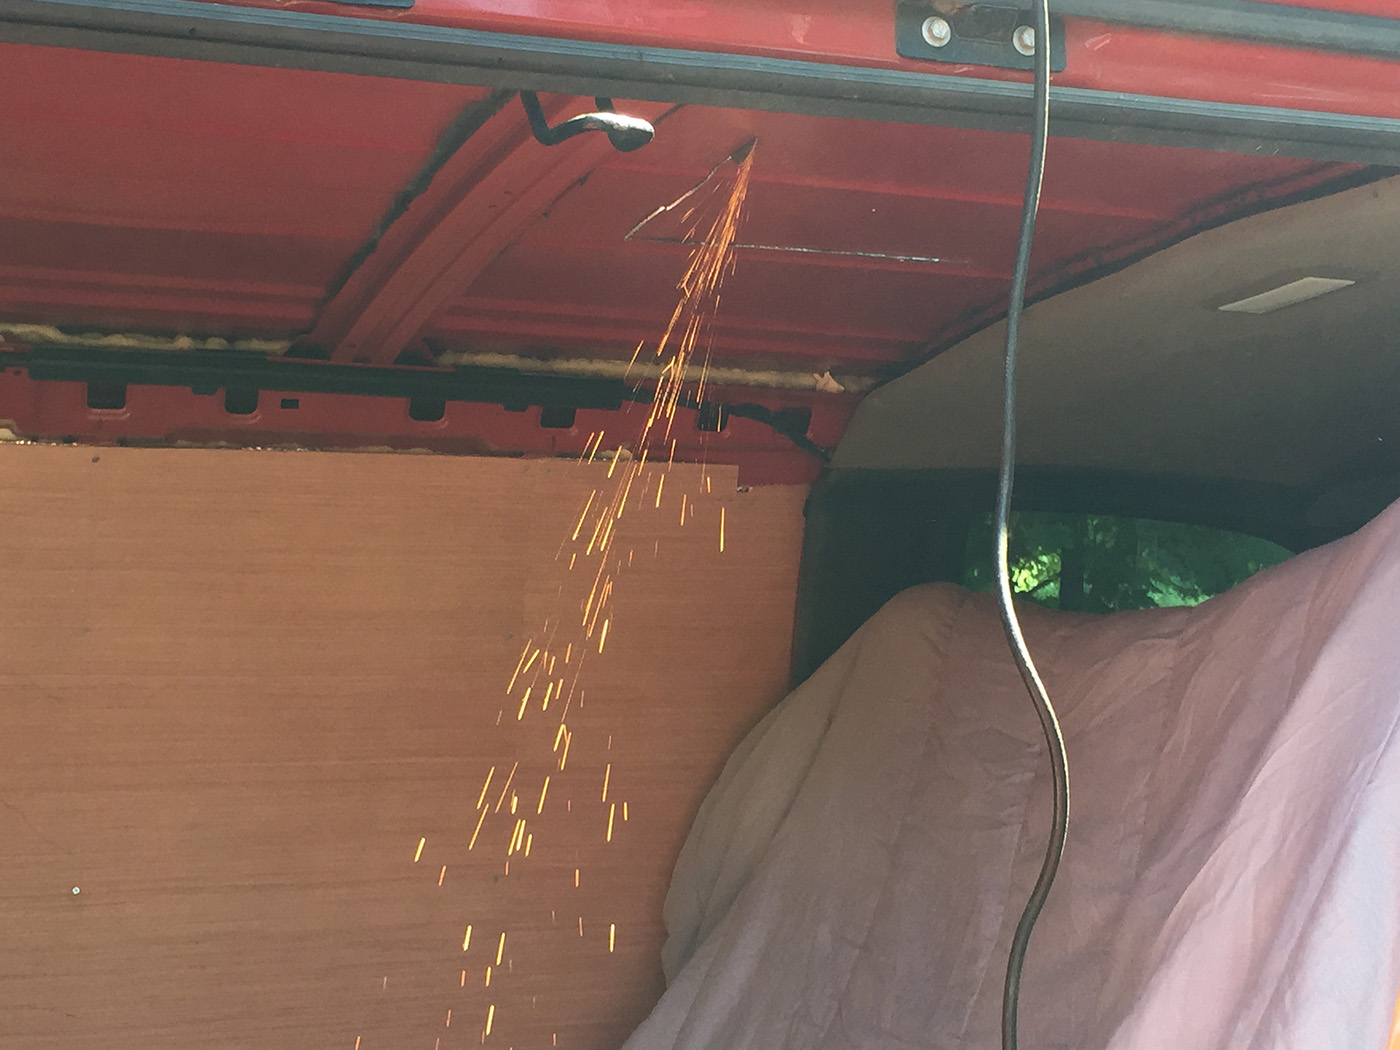
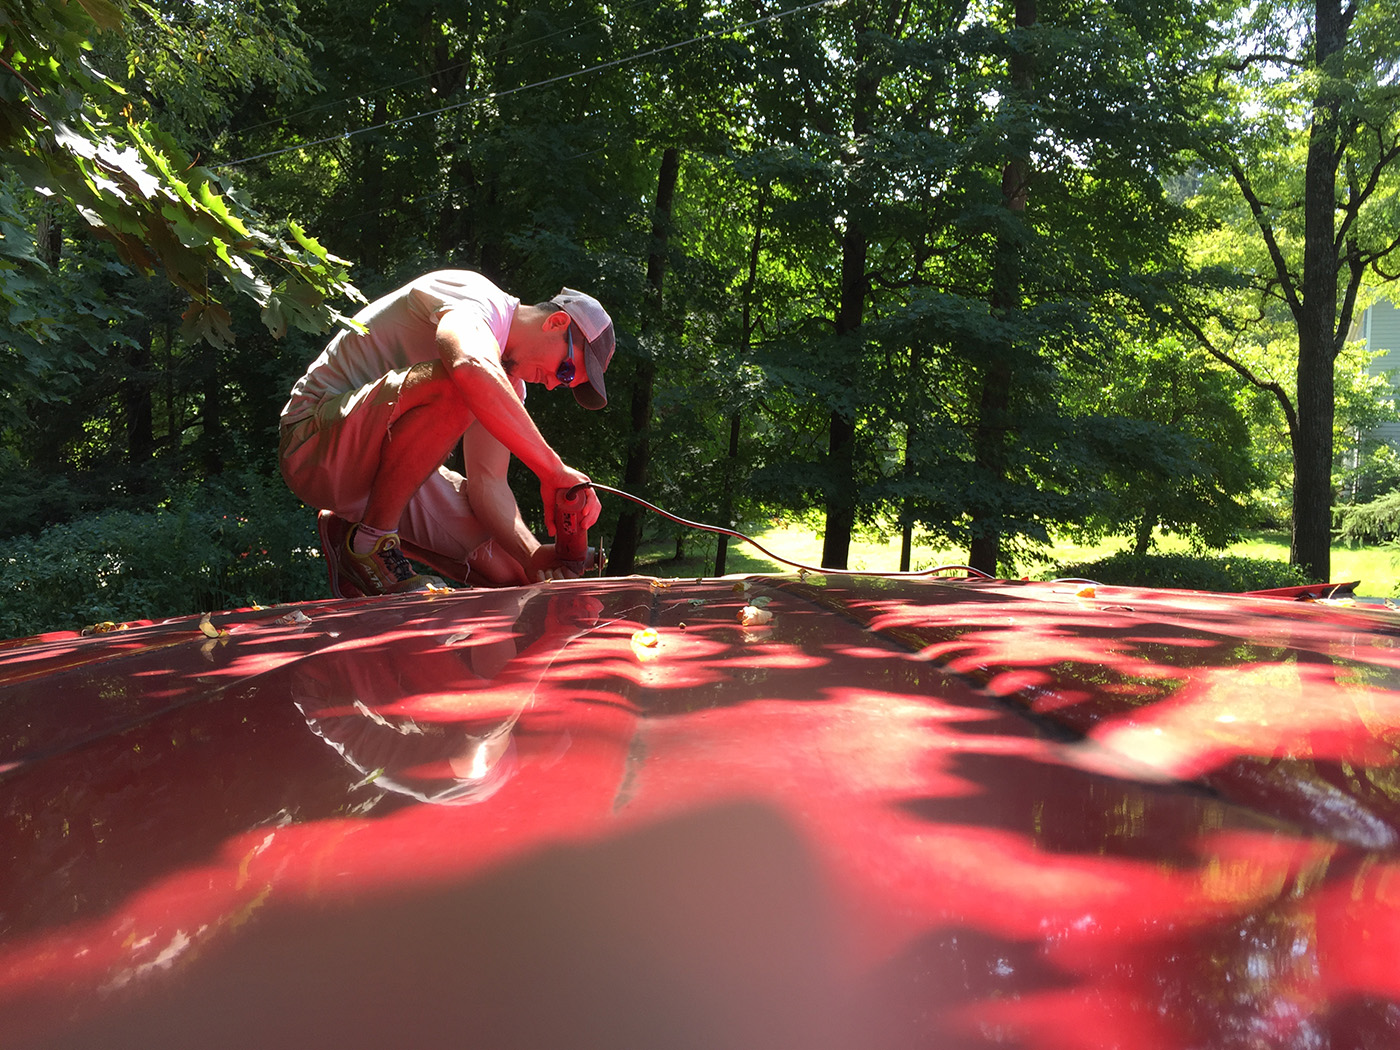
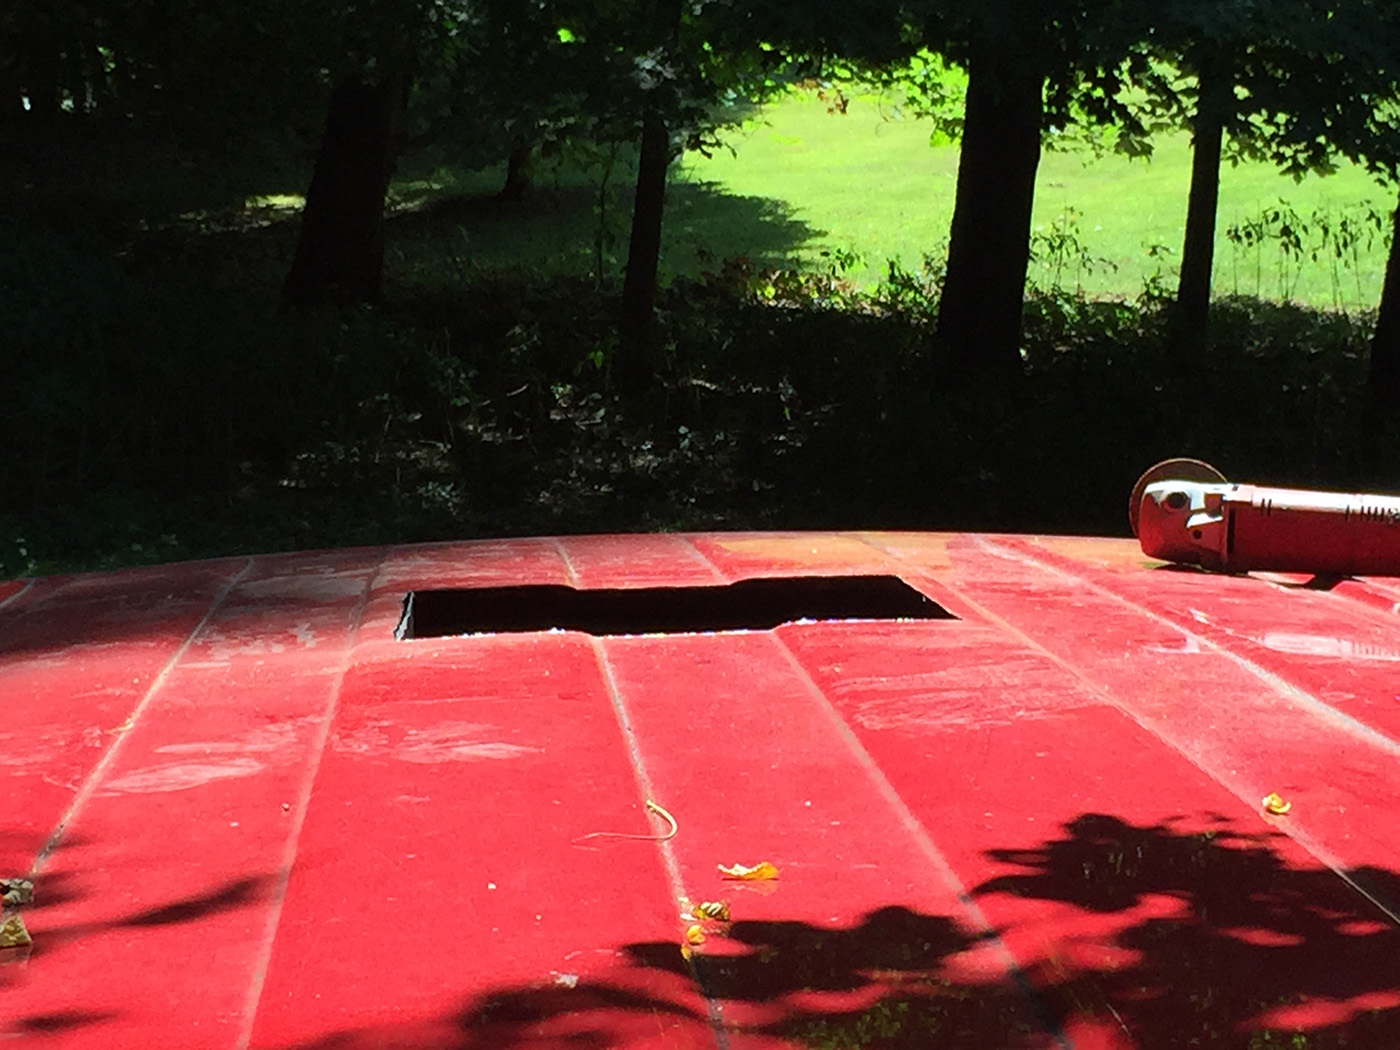
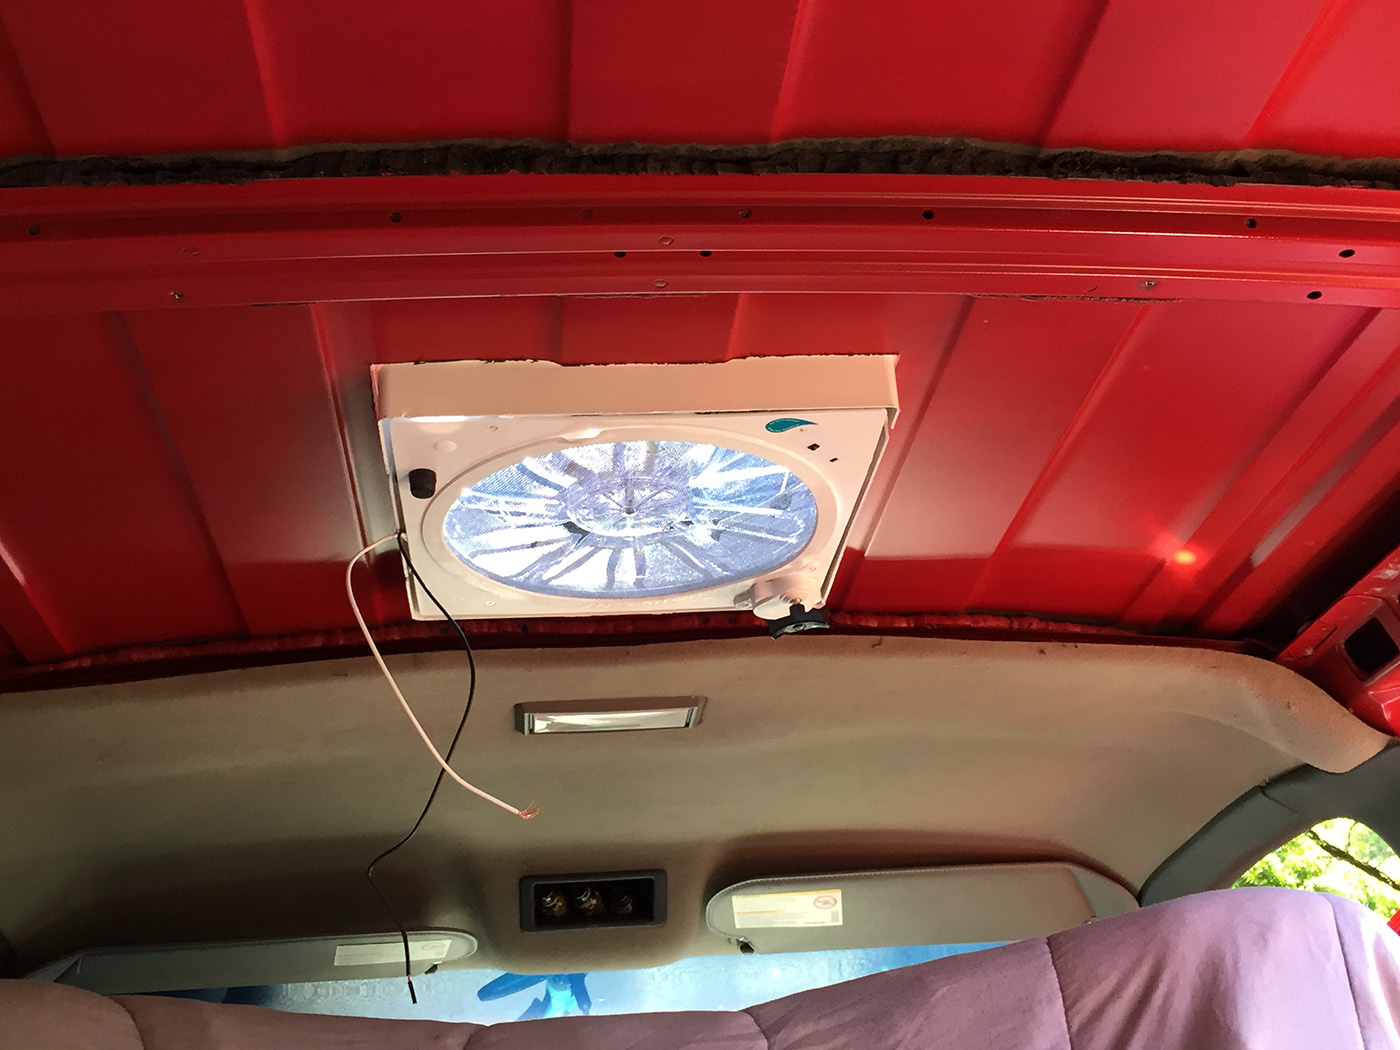
For ventilation we went with the Fan-Tastic 12V vent with rain sensor. A little pricey, but necessary to keep the moisture levels and temperature regulated, especially on the days when Kingston has to stay behind. Watching Mark make the first cut into the ceiling was a little nerve-wracking. There’s no going back once you’ve got a 14” square hole in the roof. But it fit perfectly, and two days after installing it Mark’s handy work was tested by a torrential downpour. No leaks!
The electrical setup will consist of two 100 watt solar panels feeding a marine deep cycle battery. This should be plenty to run the refrigerator, fan, and occasionally charge our electronics. The battery will also connect to the alternator, so we can charge it while we’re driving on those really cloudy days. We’re waiting until early spring to actually install them on the roof, though. No need to expose them to the elements quite yet.
Pingback: Converting a Van : Getting Started - Dwayne Parton